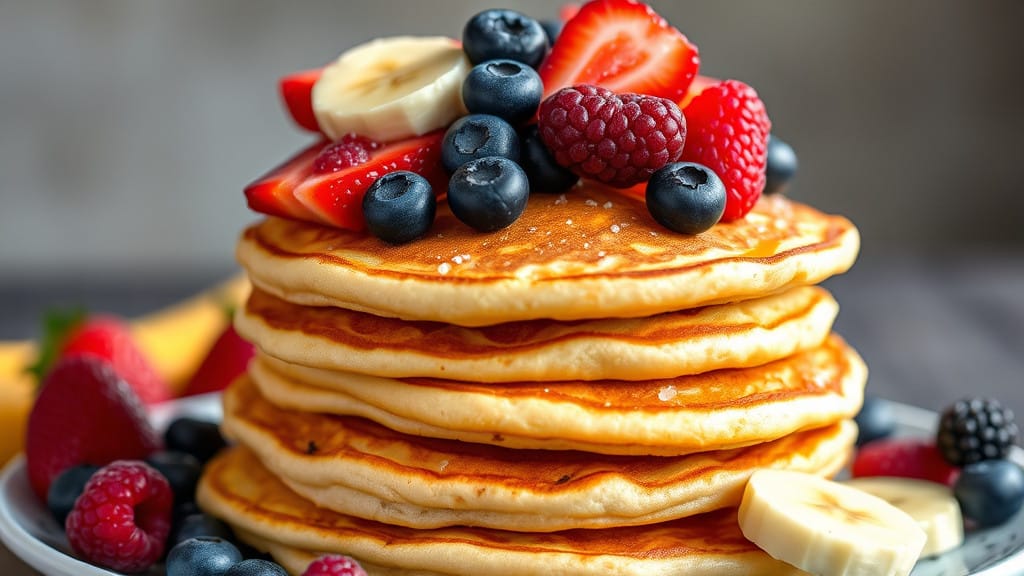
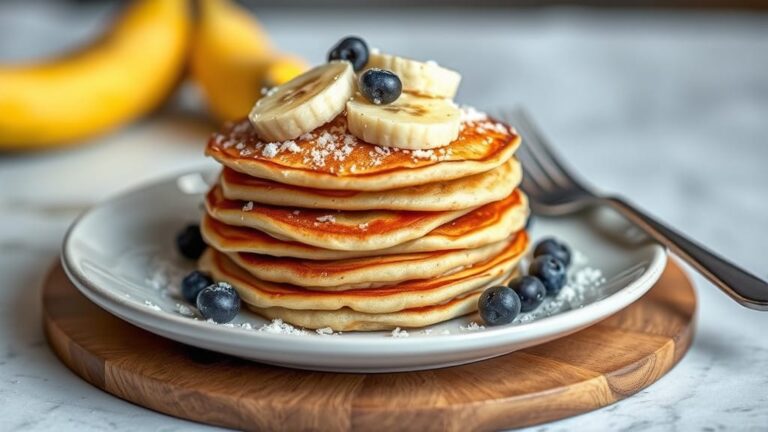
Nothing beats waking up to the aroma of freshly made pancakes sizzling on the griddle. Today, we’re diving deep into a timeless favorite: Classic Buttermilk Pancakes. Whether you’re looking to impress your family on a lazy Sunday morning or treat yourself to a comforting breakfast, this recipe is your ticket to fluffy, golden perfection.
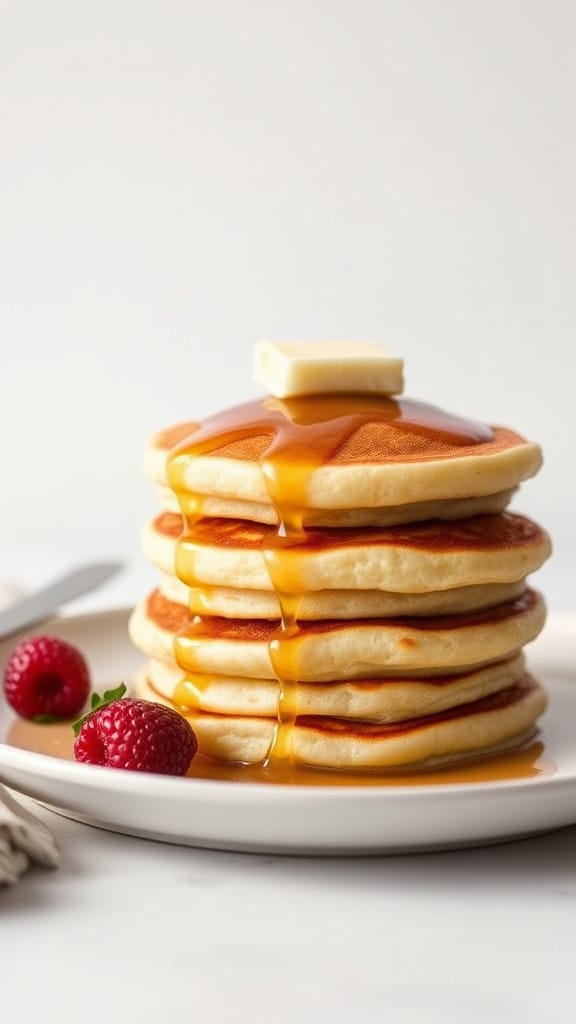
What makes these pancakes so special? It’s all about the buttermilk. The tangy flavor and creamy consistency transform an ordinary pancake into a breakfast masterpiece. Stick with me, and I’ll guide you through every step, offering tips, swaps, and tricks along the way!
Who Is This Recipe For?
Are you:
- A breakfast lover who craves fluffy, melt-in-your-mouth pancakes?
- A busy parent looking for a foolproof weekend breakfast?
- A foodie experimenting with classic comfort foods?
If you answered yes to any of the above, this recipe is perfect for you. Plus, it’s beginner-friendly, so even if you’re new to pancake-making, you’ll nail it on the first try!
Why You’ll Love This Recipe
- Quick & Easy: Ready in under 30 minutes!
- Simple Ingredients: Everything you need is probably already in your kitchen.
- Customizable: Add fruit, nuts, or chocolate chips for a personal touch.
- Make-Ahead Friendly: Pancakes you can enjoy fresh or store for later.
Ingredients You’ll Need
Here’s your pantry and fridge checklist:
- 2 cups all-purpose flour
- 2 tbsp granulated sugar
- 2 tsp baking powder
- 1/2 tsp baking soda
- 1/2 tsp salt
- 2 cups buttermilk (room temperature)
- 2 large eggs
- 1/4 cup unsalted butter, melted and slightly cooled
- 1 tsp pure vanilla extract
Tip: No buttermilk? No problem! See the substitution section below.
Kitchen Equipment Needed
Before you get started, gather these essentials:
- A mixing bowl
- A whisk or fork
- A ladle or measuring cup (for portioning batter)
- A non-stick skillet or griddle
- A spatula for flipping
- A small brush for greasing your skillet with butter
How to Make Classic Buttermilk Pancakes
Step 1: Mix Your Dry Ingredients
In a large bowl, whisk together the flour, sugar, baking powder, baking soda, and salt. This ensures even distribution of the leavening agents, which makes for perfectly fluffy pancakes.
Step 2: Combine Wet Ingredients
In a separate bowl, whisk the buttermilk, eggs, melted butter, and vanilla extract. Make sure the butter has cooled slightly, so it doesn’t cook the eggs.
Step 3: Combine Wet and Dry Ingredients
Pour the wet mixture into the dry ingredients. Gently stir until just combined. The batter should be slightly lumpy—overmixing will lead to tough pancakes!
Step 4: Preheat the Griddle
Heat your skillet or griddle over medium heat. Lightly grease it with butter or a neutral oil. Test the heat by sprinkling a few drops of water on the surface—if they sizzle, you’re ready to go!
Step 5: Cook the Pancakes
Scoop about 1/4 cup of batter for each pancake. Cook until bubbles form on the surface and the edges look set (about 2-3 minutes). Flip and cook for another 1-2 minutes, until golden brown.
Step 6: Serve and Enjoy!
Serve your pancakes warm with butter, maple syrup, or your favorite toppings.
Toppings and Variations
- Classic Pairings: Butter and maple syrup are classics for a reason!
- Fruity Options: Add fresh berries, bananas, or apple slices.
- Indulgent Add-Ins: Stir chocolate chips or crushed nuts into the batter.
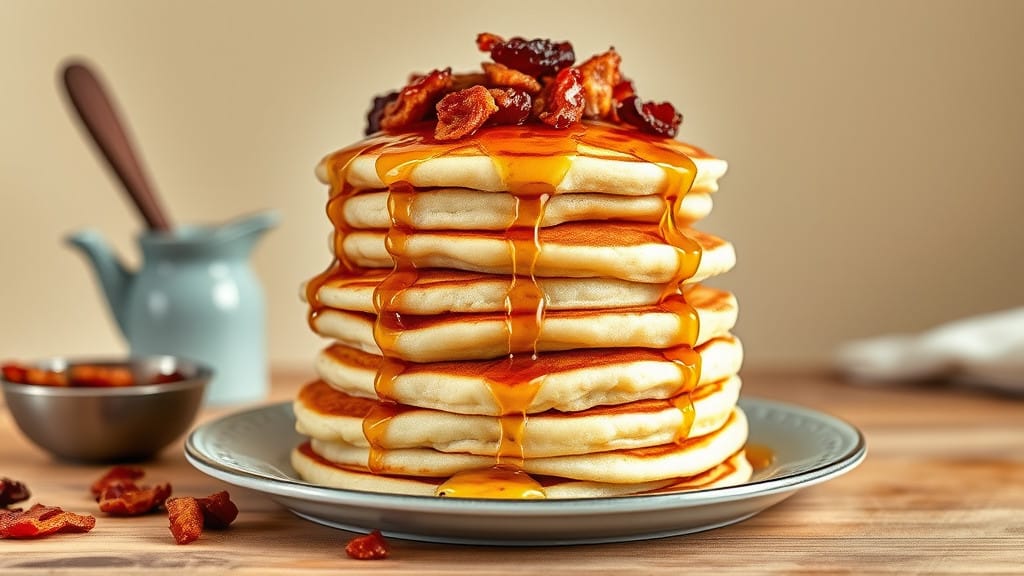
- Savory Twist: Skip the sugar and vanilla, then top with crispy bacon and a fried egg.
Substitutions and Swaps
- No Buttermilk? Combine 2 cups of milk with 2 tablespoons of lemon juice or vinegar. Let it sit for 5 minutes to curdle. Voilà—instant buttermilk!
- Dairy-Free: Use almond milk mixed with lemon juice and swap butter for coconut oil.
- Gluten-Free: Substitute all-purpose flour with a 1:1 gluten-free baking mix.
Storing and Reheating Leftovers
Got leftovers? Lucky you! Here’s how to store and reheat them:
- Refrigeration: Store pancakes in an airtight container for up to 3 days.
- Freezing: Layer pancakes with parchment paper in a freezer-safe bag. They’ll keep for up to 2 months.
- Reheating: Warm pancakes in a toaster, oven, or microwave for a fresh-from-the-griddle taste.
What to Serve With Buttermilk Pancakes
Pair these pancakes with:
- Drinks: Freshly brewed coffee, a frothy latte, or a glass of orange juice.
- Sides: Crispy bacon, scrambled eggs, or hash browns.
- Sweet Treats: A dollop of whipped cream or a drizzle of chocolate sauce.
Pro Tips for Perfect Pancakes
- Use Room Temperature Ingredients: This helps the batter mix evenly and ensures fluffier pancakes.
- Don’t Overmix: A few lumps in the batter are your secret weapon for tender pancakes.
- Control the Heat: Too hot, and the pancakes will burn; too low, and they’ll dry out. Medium heat is your sweet spot.
- Rest the Batter: Let the batter sit for 5 minutes before cooking—this allows the baking soda to work its magic.
Conclusion
There you have it – Classic Buttermilk Pancakes that’ll make you the hero of breakfast time. These golden, fluffy delights are a testament to how simple ingredients and a little love can create something extraordinary. So, grab your whisk, heat up that skillet, and start flipping!
FAQs
1. Can I make the batter ahead of time?
Yes, but for best results, mix it right before cooking. If you must, store it in the fridge for up to 12 hours and gently stir before using.
2. How do I know when to flip the pancakes?
Look for bubbles forming on the surface and edges that appear set. That’s your cue!
3. Why are my pancakes flat?
Flat pancakes usually mean the batter was overmixed or the leavening agents were old. Check your baking powder and soda’s expiration dates!
4. Can I make mini pancakes?
Absolutely! Use a tablespoon of batter per pancake for a fun, bite-sized version.
5. What’s the best way to keep pancakes warm for a crowd?
Place cooked pancakes on a baking sheet in a 200°F (93°C) oven while you finish the batch.
