Okonomiyaki, often referred to as the “Japanese savory pancake,” is a beloved dish that blends simplicity and deliciousness in one unforgettable bite. With origins in Osaka and Hiroshima, Okonomiyaki is a versatile dish that can be customized to suit your tastes, making it a perfect meal for both beginners and experienced chefs alike.
In Japanese, “okonomi” means “what you like” or “your choice,” while “yaki” translates to “grill” or “cook.” As the name suggests, Okonomiyaki is a “cook it the way you like it” dish, allowing for endless variations. The base of Okonomiyaki consists of a savory batter that’s typically made from flour, eggs, shredded cabbage, and a few other basic ingredients, but the toppings and fillings are where the real fun begins! Whether you like your Okonomiyaki with pork, seafood, or vegetables, this recipe is fully customizable to your preferences.
In Japan, Okonomiyaki is often enjoyed at Okonomiyaki restaurants, where diners can grill their own at the table, but making it at home is just as enjoyable and rewarding.
The History of Okonomiyaki
Okonomiyaki dates back to the early 20th century in Japan and has evolved over time into the savory pancake we know and love today. The dish has roots in Osaka, where it was originally a simple snack made from flour, water, and cabbage. It was later enriched with pork, seafood, and a variety of seasonings, reflecting regional preferences and available ingredients.
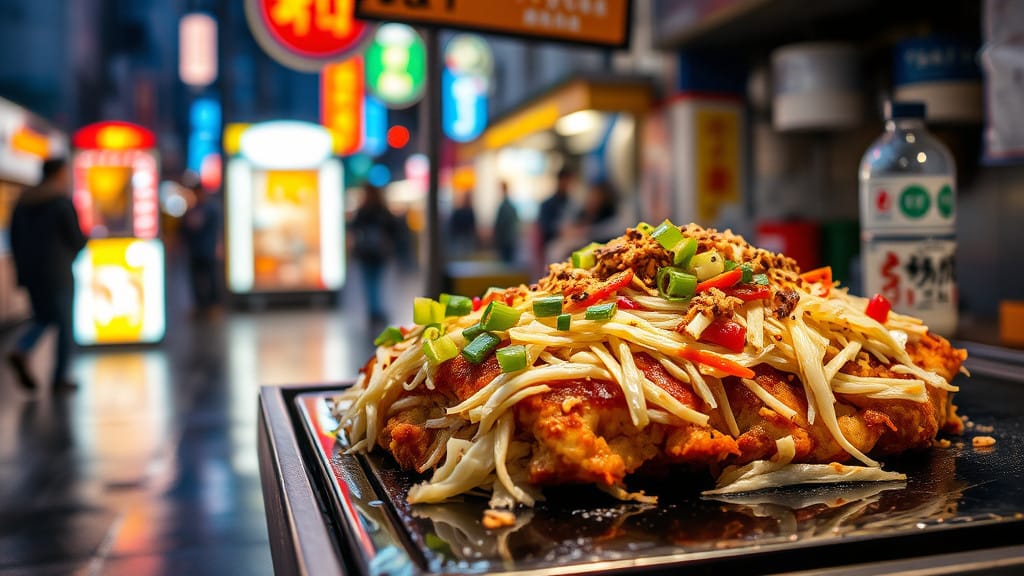
In the Hiroshima region, the dish evolved into a more layered form, with noodles often included in the mixture, creating a distinct version of Okonomiyaki. Today, Okonomiyaki has become a popular street food and comfort meal across Japan, and it has been embraced globally, particularly in countries where Japanese cuisine has gained popularity.
Prep Time: 15 minutes
Cook Time: 20 minutes
Cuisine: Japanese
Course: Main Course
Calories: Approximately 350-400 per serving
Servings: 2-4 servings
Ingredients for Authentic Japanese Okonomiyaki
Making Okonomiyaki at home requires fresh ingredients that bring out the flavors of this delicious dish. The batter is the foundation, but the toppings and fillings are what give Okonomiyaki its character. Below is the list of essential ingredients:
For the Okonomiyaki Batter:
- 1 cup all-purpose flour
- 2 large eggs
- ¾ cup dashi stock (or water for a vegetarian version)
- ½ teaspoon baking powder
- 1 tablespoon soy sauce
- 1 tablespoon mirin (optional, adds sweetness)
- 2 cups finely shredded cabbage
- ½ small onion, thinly sliced
- 1 small carrot, julienned (optional)
For the Fillings and Toppings:
- 1 cup cooked pork belly (or bacon, cut into small pieces)
- 1 cup shrimp (peeled and deveined, optional for seafood lovers)
- ½ cup cooked soba noodles (for Hiroshima-style Okonomiyaki, optional)
- 1 tablespoon vegetable oil (for frying)
- Okonomiyaki sauce (store-bought or homemade)
- Japanese mayo (for drizzling)
- Aonori (dried seaweed flakes, for garnish)
- Katsuobushi (dried bonito flakes, for garnish)
- Pickled ginger (optional, for garnish)
Step-by-Step Instructions to Make Okonomiyaki
Step 1: Prepare the Okonomiyaki Batter
In a large mixing bowl, whisk together the flour, eggs, dashi stock, baking powder, soy sauce, and mirin (if using) until smooth. The batter should be thick but not too dense. If the mixture feels too thick, add a little more dashi stock or water until it reaches the desired consistency.
Once the batter is ready, fold in the shredded cabbage, sliced onion, and julienned carrot (if using). The cabbage should be well incorporated into the batter but still retain some of its crunch.
Step 2: Prepare the Fillings and Toppings
In a separate pan, cook the pork belly (or bacon) until it’s crispy and browned. If you’re using shrimp, sauté them in a little bit of oil until they turn pink and fully cooked. Set these ingredients aside.
For Hiroshima-style Okonomiyaki, prepare the soba noodles according to the package instructions, then set them aside.
Step 3: Cook the Okonomiyaki
Heat a large non-stick skillet or griddle over medium heat and add vegetable oil. Spoon a portion of the Okonomiyaki batter into the pan, using the back of the spoon to spread it into a circular shape. If you’re making the Hiroshima-style version, first add the noodles to the pan, then pour the batter over the noodles.
Cook the pancake for about 4-5 minutes on one side, until it’s golden brown and firm enough to flip. Use a large spatula to carefully flip the Okonomiyaki over. If you find it difficult to flip, you can also try flipping it onto a plate and then sliding it back into the pan.
Cook for another 3-4 minutes on the other side, making sure it’s cooked through and golden brown. The edges should be crispy, and the center should be tender.
Step 4: Add the Toppings
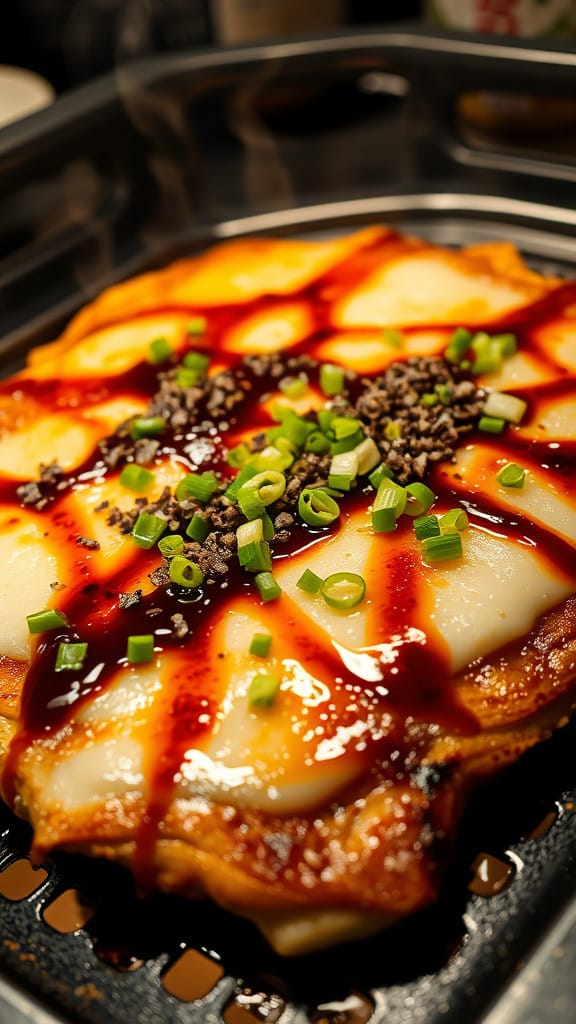
Once your Okonomiyaki is cooked through, transfer it to a serving plate. Drizzle it generously with Okonomiyaki sauce and a swirl of Japanese mayo. Add the Aonori (dried seaweed flakes) and top with katsuobushi (dried bonito flakes). The bonito flakes will flutter in the heat, giving the dish a dynamic and appealing look.
For an extra touch of flavor, serve your Okonomiyaki with pickled ginger on the side.
Serving Suggestions and Variations
Okonomiyaki can be served as a meal on its own, but it also pairs wonderfully with side dishes like miso soup, pickled vegetables, or a refreshing Japanese salad. The toppings can be varied to suit your personal preferences, so feel free to experiment with different meats, seafood, or even vegetarian options.
- Meat Lovers: Add cooked chicken or beef instead of or in addition to pork.
- Vegetarian Version: Skip the meat and seafood and use extra vegetables like mushrooms, zucchini, and bell peppers.
- Spicy Kick: Add a few drops of sriracha sauce to the mayonnaise or Okonomiyaki sauce for an extra layer of heat.
How to Store and Reheat Okonomiyaki
Okonomiyaki is best enjoyed fresh, but you can store leftovers in the refrigerator for up to 2 days. Wrap the Okonomiyaki tightly in plastic wrap or store it in an airtight container. To reheat, simply warm it in a skillet over low heat for a few minutes until heated through. Avoid microwaving, as it can make the texture less crispy.
Conclusion: A Delicious and Customizable Japanese Classic
Making Okonomiyaki at home is a fun and rewarding experience. The beauty of this dish lies in its versatility—you can customize the fillings and toppings to suit your preferences, creating a dish that’s perfect for any occasion. Whether you enjoy it as a savory pancake with pork, seafood, or vegetables, Okonomiyaki is sure to become a favorite in your kitchen. The crispy exterior, tender interior, and rich toppings create a delicious meal that is both comforting and satisfying.

